REVIEW · MORNING
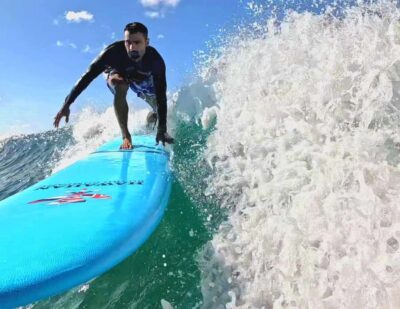
Oahu Sunrise Tour From Waikiki
Book on Viator →Operated by Blue Hawaii Photo Tours · Bookable on Viator
Sunrise photos in Oahu start before dawn. This half-day workshop turns an early drive out of Waikiki into a guided practice session, with hotel pickup and tripods built into the day so you can focus on shooting instead of scrambling. I like that it’s taught in a way that fits both beginners and people who already know their way around a camera.
The main drawback is timing. You’re up early, you need to bring a real camera, and the day is photo-first rather than sightseeing-first—so if you only want casual views, you may feel like you wanted more time just wandering.
In This Review
- Key highlights worth knowing
- Oahu sunrise photography from Waikiki: why this tour works
- Price and value: what $100 buys (and what it doesn’t)
- Pickup, timing, and the start point near Ala Moana
- Stop 1 at dawn: beach light, tide pools, and calm chaos
- Learning real camera settings: shutter speed, framing, focal points
- Breakfast break that keeps the day on track
- East Oahu photo stops: finding better angles after the sun lifts
- Who this tour is best for (and who may feel it’s not for them)
- What to bring so you can actually shoot
- Pace and comfort: you’re moving, and the morning is the point
- Weather reality: all-weather operations, good-weather goals
- Should you book the Oahu Sunrise Tour From Waikiki?
- FAQ
- How long is the Oahu sunrise photo tour?
- Is hotel pickup and drop-off included?
- Are tripods provided?
- Do I need to bring my own camera?
- Is breakfast included?
- What’s the cancellation policy?
Key highlights worth knowing
- Small-group instruction (capped around 7–8 people) so you’re not lost in a crowd
- Tripods included so you can actually slow down for dawn light
- East Oahu shooting stops after a quick breakfast break
- Coach feedback on settings like shutter speed, framing, and focal points
- Guides who work with your level, from first shots to more advanced adjustments
Oahu sunrise photography from Waikiki: why this tour works
If you’ve ever tried photographing Hawaii at midday, you know the problem: the light is strong, shadows get harsh, and everything looks like a postcard you didn’t earn. This tour solves that by using the simplest tool in photography—timing. You head out an hour before sunrise, when the sky is changing fast and the ocean is doing its own thing.
What I like most is that the experience is structured like a workshop, not just a ride to a viewpoint. You’ll get taught what to look for—light direction, framing choices, and the technical levers that make night-to-dawn scenes work. And because the group is small, you can ask questions without feeling like you’re interrupting a slideshow.
You can also read our reviews of more tours and experiences in Oahu


Price and value: what $100 buys (and what it doesn’t)
At $100 per person for about 5 hours, this isn’t a bargain tour—but it also isn’t trying to be one. You’re paying for three things that matter for camera results:
- Guidance from a pro who can explain settings in plain language
- Tripod use, included, which is a big deal for dawn and low light
- Transportation with round-trip pickup/drop-off from Waikiki
What you don’t get is extra convenience. You bring your own camera. Food and drinks aren’t included, even though there’s a quick breakfast stop. And you’re responsible for gratuities.
If you already travel with a tripod and know your settings, you might ask what’s left. The answer is the coaching and the shooting plan: the tour aims you at the right angles and then helps you translate those views into photos you can tweak.
Pickup, timing, and the start point near Ala Moana
The meeting location is near Ala Moana at the Ala Moana Honolulu by Mantra, with hotel pickup from Waikiki in a spacious, air-conditioned van. The day is built around that early departure—sunrise tours live or die by punctuality, and this one leaves about an hour before the sun comes up.
That also means you should plan your morning like a mission. Wear closed-toed, comfortable shoes. Bring sunscreen and a hat; dawn can still hit hard once the sun clears the horizon. The tour runs in all weather conditions, so dress for the reality of wind and changing temperatures, not the idea of Hawaii you saw in a brochure.
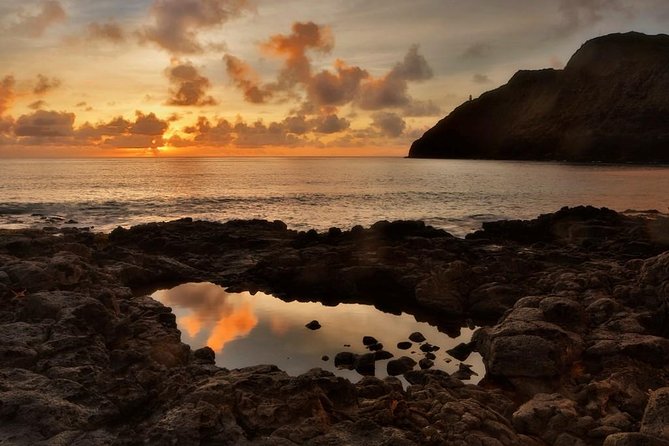
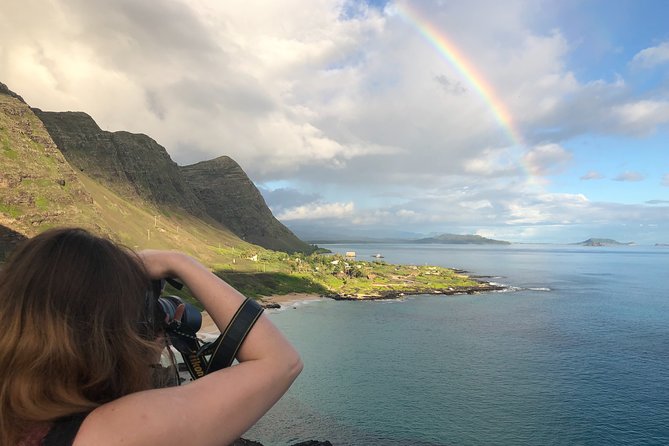
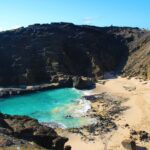
Stop 1 at dawn: beach light, tide pools, and calm chaos
The first major moment is the sunrise at a beach location with dramatic timing. You drive from Waikiki before sunrise, then watch the sun appear on the horizon with waves and tide pools in the scene.
Here’s the practical value: sunrise photography isn’t just about capturing a bright circle. It’s about how the glow interacts with water texture. Tide pools can add foreground detail, and waves add movement that changes every second. That’s exactly why tripod work matters. When you slow your shutter speed down, you trade some crispness for smoother water and a more “intentional” look.
A small warning: this part can feel cold or windy early, and the ground may be uneven near the shoreline. Closed-toed shoes are not optional.
Learning real camera settings: shutter speed, framing, focal points
After sunrise, the tour shifts into the classroom phase—right there on location. You’ll stop at multiple places (typically 5–6 locations along the east side of Oahu), and at each stop you’ll learn how to “see” through your camera.
The guide focuses on the tools that turn a decent snapshot into a photo you want to keep:
- Framing: how to place subjects so the photo tells a story, not just shows a scene
- Shutter speed: how fast or slow changes movement in water and sky
- Focal points: what to emphasize so your image has a clear subject
- Using light: how sunrise changes contrast and where to stand so the sun works for you
What makes this especially useful is the pacing. You don’t get a random list of settings and then free time. You get instruction, then you apply it immediately at the next viewpoint. That feedback loop is how you learn fastest—especially if you’re newer to photography.


Breakfast break that keeps the day on track
There’s a quick breakfast stop after sunrise before you continue to the next photo locations. Food and drinks are not included, so you’ll want a little cash or a plan.
I like the idea of a brief break instead of a long sit-down. The second half of the tour is where you practice framing and exposure decisions across different scenes. If you take too long eating, you lose the best light window.
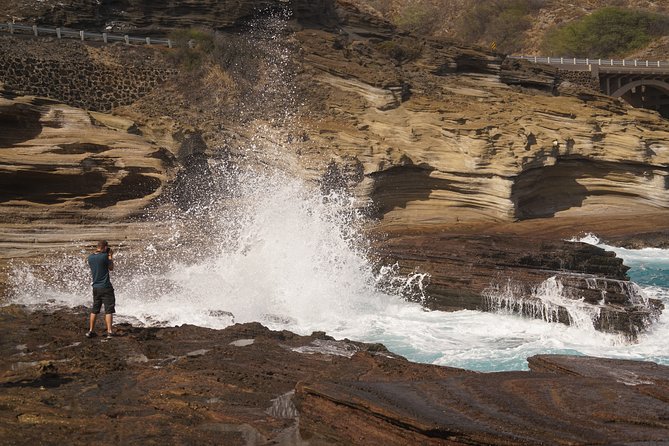
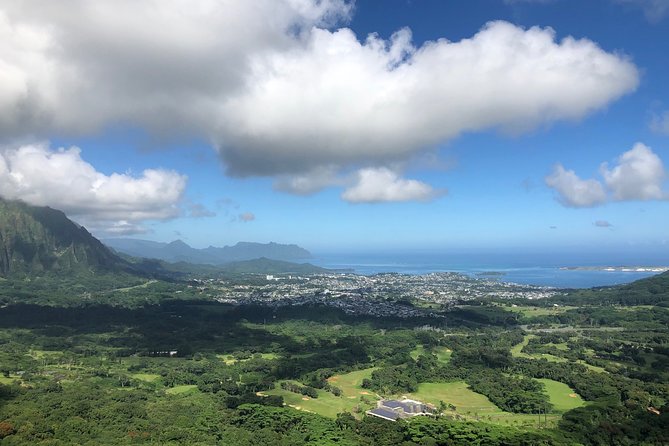
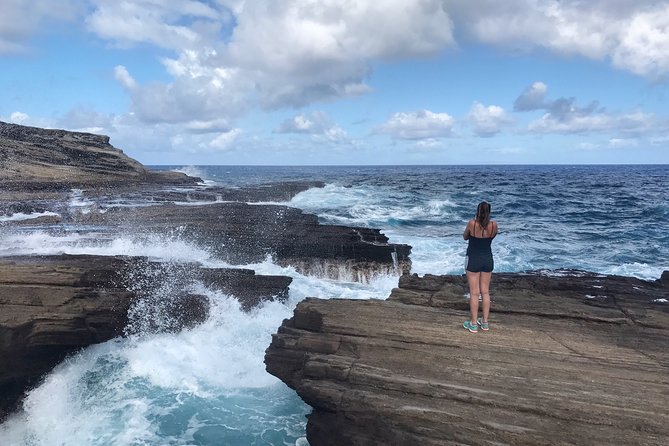
East Oahu photo stops: finding better angles after the sun lifts
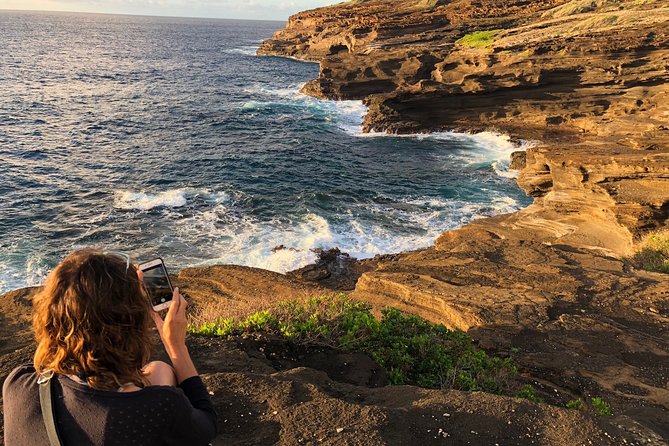
Once the morning settles in, the tour moves around the east side of Oahu, stopping at several different locations. Even without naming every exact spot ahead of time, the intent is clear: you’ll be guided to angles that make the coast look three-dimensional.
This is also where the small-group format pays off. With no more than 7 people per booking (and a maximum that can reach about 8), the guide can keep an eye on what each person is trying to shoot. You can get help adjusting your stance, moving your tripod a few steps, or changing how you frame a subject against the horizon.
In past groups, guides such as Evan, Marie, and Pattie are noted for different coaching styles: Evan’s focused setting explanations, Marie’s patient, personalized guidance, and Pattie’s hands-on help making sure participants get good photos of themselves at different stops. You might not meet those exact names, but the pattern is consistent—active coaching, not passive sightseeing.
Who this tour is best for (and who may feel it’s not for them)
This is built for people who want to learn photography by doing. That includes:
- Beginners who want to understand shutter speed, framing, and focal points without drowning in jargon
- Intermediate shooters who want feedback on where to stand and what to emphasize
- Anyone who wants a more guided sunrise than a bus-rider viewpoint
It may not suit you if you want a relaxed morning of just walking around. The tour is photo-first, and the best outcomes come from paying attention and following the guide’s prompts. One negative experience also highlighted a concern about time being limited by one guide’s attention to a photo session with a couple participants. That’s not guaranteed to happen, but it’s a real reminder: when instruction is involved, group dynamics matter.
What to bring so you can actually shoot
This tour is strict about one thing: you must bring your own camera. A phone can work if it can handle sunrise shots, but a basic device that doesn’t capture well in low light will feel frustrating fast.
Beyond that, bring:
- A camera with tripod support (or a way to steady it)
- Your own wrist strap / something to prevent drops
- Comfortable closed-toed walking shoes
- Hat and sunscreen
- Weather-appropriate layers (wind is common in early starts)
Tripods are provided, which is great—just still keep your hands free and move carefully so you don’t tip it over on uneven ground.
Pace and comfort: you’re moving, and the morning is the point
The tour runs about 5 hours, and it packs real movement into that time: pickup, drive, sunrise at the first beach, breakfast stop, then a series of east-side photo locations.
So plan for walking and standing. You’ll want the patience to wait for a good moment when waves cooperate or the sun shifts enough to change the scene. This is why it feels rewarding to people who like photography—your effort connects directly to the results.
And yes, the start is early. If you’re not a morning person, make peace with that. The upside is that you get to enjoy a quiet, early part of Oahu without spending your whole day stuck in the usual crowds.
Weather reality: all-weather operations, good-weather goals
The tour operates in all weather conditions, but the experience still depends on good conditions to deliver what you came for—sunrise with visible horizon light and workable shoreline scenery.
If conditions force a cancellation due to poor weather, you’ll be offered a different date or a full refund. That flexibility matters on Oahu, where the sky can change quickly.
Should you book the Oahu Sunrise Tour From Waikiki?
I’d book it if you fit the “photo practice” mindset. The best value is for people who want structure: a plan for where to stand, what settings to try, and how to turn dawn light into images. The hotel pickup, tripods included, and small-group coaching are exactly the ingredients that make a photography tour worth the early alarm.
I’d skip it if you mainly want casual sightseeing or you’re not willing to show up with a camera and follow guidance. This is not a laid-back beach stroll. It’s a dawn photography workshop, and that’s the point.
If you’re comfortable with early mornings and you want to learn by shooting, this one is a strong choice.
FAQ
How long is the Oahu sunrise photo tour?
It lasts about 5 hours.
Is hotel pickup and drop-off included?
Yes. Pickup and drop-off from Waikiki are included.
Are tripods provided?
Yes. The tour includes use of tripods.
Do I need to bring my own camera?
Yes. Participants are required to bring their own cameras.
Is breakfast included?
There’s a quick breakfast stop after sunrise, but food and drinks are not included.
What’s the cancellation policy?
You can cancel for a full refund up to 24 hours before the experience starts. If you cancel less than 24 hours before, the amount paid is not refunded.